Updating the Application Server
NOT AVAILABLE IN SAAS
Updating Syteca Application Server is performed by using a newer version of the Syteca Application Server installation file. During the update process, you can select either to update the existing database to a newer version or to simply reinstall it.
To update the Application Server, do the following:
1. Run the Syteca_Server.exe installation file of the latest version of Syteca.
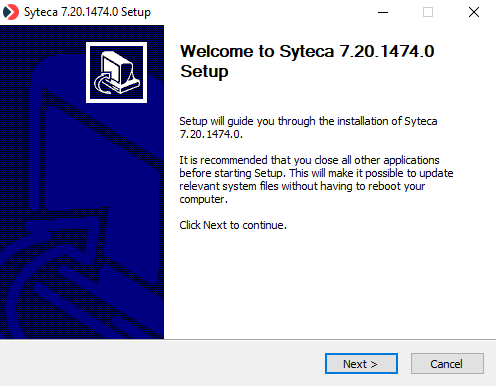
2. In the Setup Wizard that opens, click Next on the Welcome page.
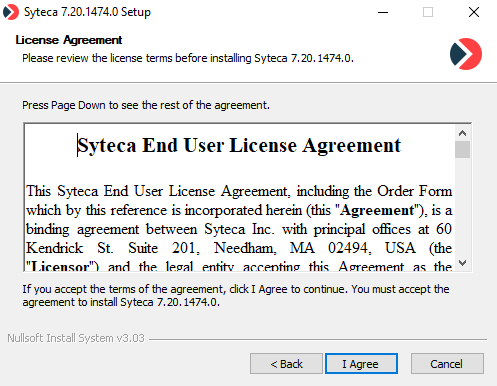
3. On the License Agreement page, read the End User License Agreement carefully, and then click I agree.
4. On the Requirements page, if .NET 8.0 is not installed (after updating to Syteca v. 7.23 or higher), yellow triangle icons (
• .NET Runtime 8.0
• ASP.NET Core 8.0 Runtime
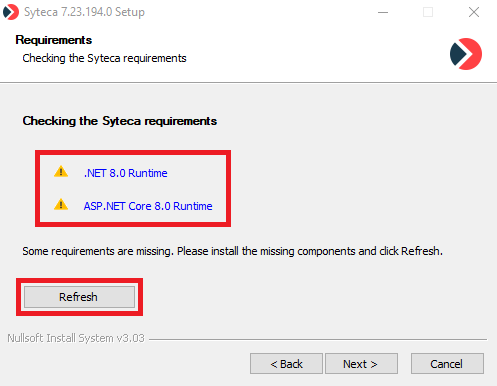
To be able to proceed, first click the links on the page to install each of these missing components, and then click the Refresh button (to check that the yellow triangle icons (
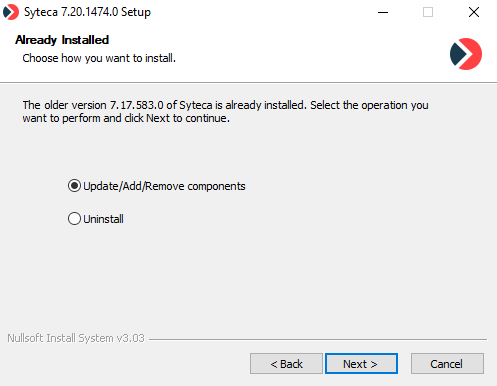
5. On the Already Installed page, select Update/Add/Remove components, and then click Next.
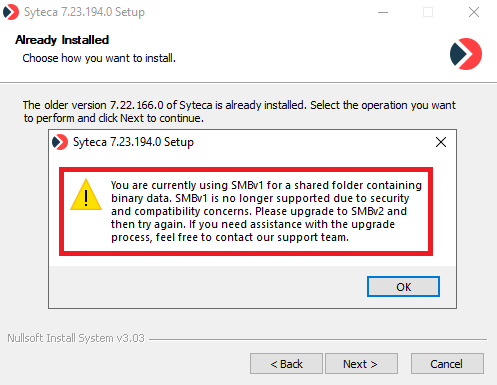
NOTE: If the following popup message is displayed about needing to update to SMBv2 when using a shared folder to store binary data (while updating to Syteca 7.23 or higher), please refer to the Application Server Issues and Error Messages page for more information:
6. On the Database Update page, if you want to keep the existing database, select Update database to a new version, or otherwise select Reinstall the database and instead follow the appropriate steps when installing the Application Server.
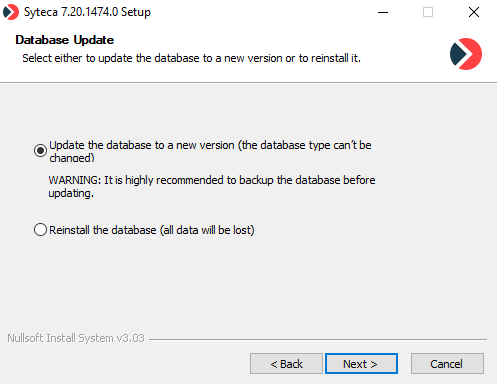
NOTE: To change the type of database, the whole system needs to be reinstalled.
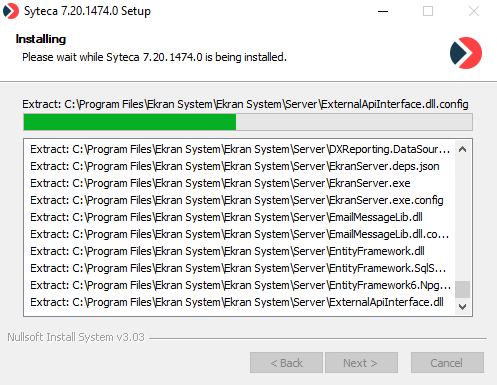
7. Click Next, and the update process starts.
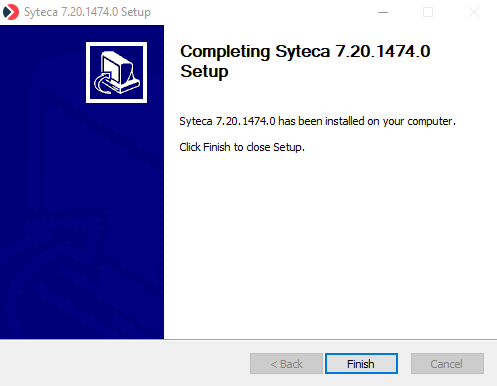
8. When the update process is complete, click Finish to exit the Setup Wizard.